Etsy is a Godsend for many brides (it even made BDW's list of Top 5 Online Resources for Planning a Destination Wedding) and I'm sure we've all spent plenty of hours perusing the adorable handmade wares. Maybe you've even seen something and thought "hey, I can make that, and for way less!" That's exactly what happened recently when I did a search for escort card trays. I found several options that would work great, but at about $65 each I knew I could make something similar at a fraction of the cost. So with that in mind, here are instructions on how to make a dual purpose escort card tray for your destination wedding!
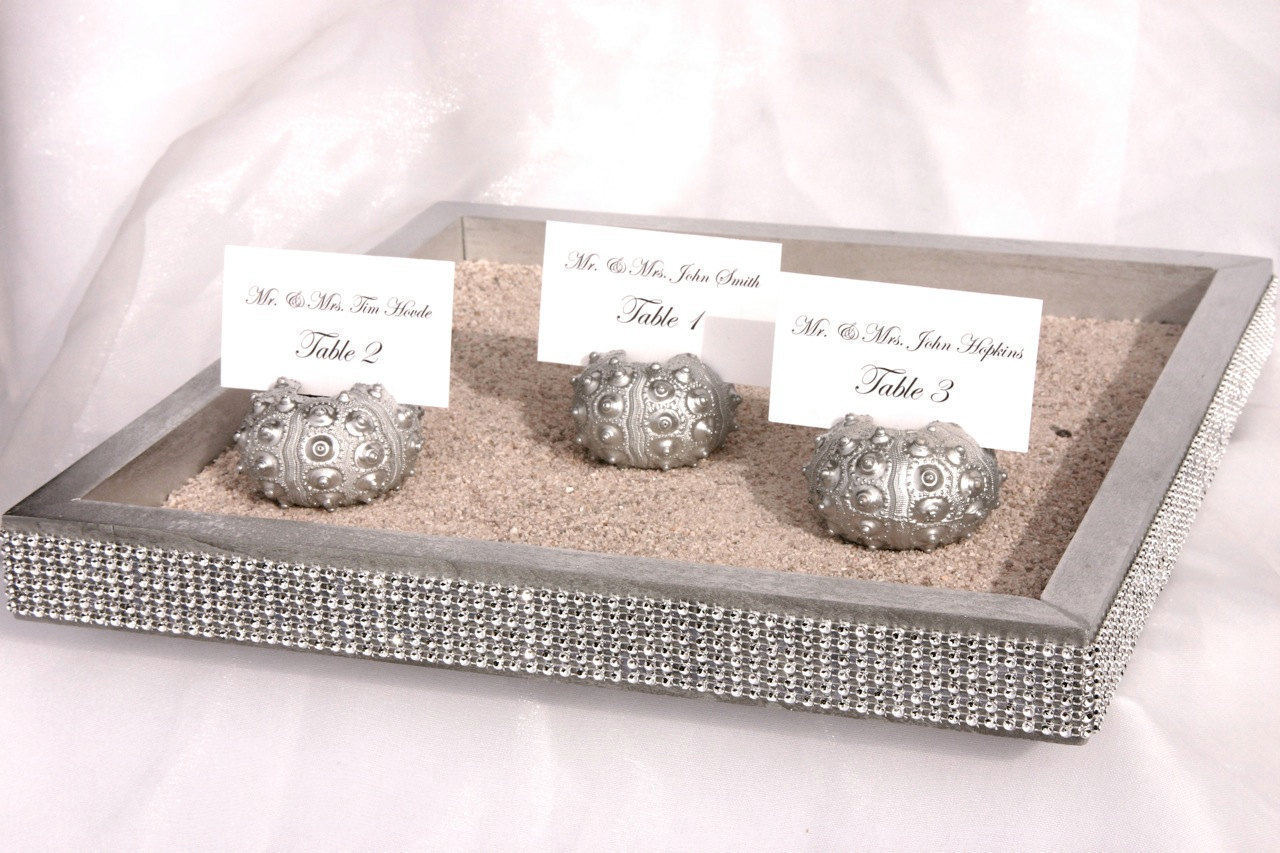
First, the inspiration ($65)
The supplies:
I know it sounds crazy, but yes that's a frame from Ikea. When I saw the Etsy tray the first thing that popped into my head was "it looks like an upside down frame." So I tried it! Bonus: after the wedding, dump out the sand and you have a customized frame that you can use for a wedding photo of the two of you!
- Ikea Ribba frame ($19.99)
Note: I purchased the 11 3/4 x 18 3/4 size in the aluminum finish, but it also comes in black, white, gray and brown. Or you can paint it to the color of your choice. They also have a selection of other frames, so feel free to pick a style/shape/size more to your liking, just be sure there's a large enough lip so that the back of the frame is deep enough to add sand and escort cards
- Adhesive back acrylic gems from Michael's ($2.50 per strip) These come in different sizes and colors so you can customize to your tastes!
- Scissors
Instructions:
1. Decide how blingy you want your finished product to be. I didn't want to go for the full coverage look of the Etsy inspiration, so I cut the adhesive strip into several smaller strips that only had 2 rows of crystals rather than all 6. It took 2 packs of the adhesive crystals to make it all the way around the frame. If you are opting for more bling, you'll need to purchase more. The adhesive strips are literally peel and stick-- couldn't be easier. Just place them in your desired pattern/configuration.
2. Because it's a frame, I also took the opportunity to frame the logo I've used on our OOT bags, welcome letter, etc. just so it's cute on both sides.![]()
3. Flip over and fill the back with sand and your escort cards.
4. Wait for the compliments from your friends and family, who will probably think you paid way more for this DIY project!
Total cost of project: $24.99+ tax
Finished product:


Recommended Comments
Join the conversation
You can post now and register later. If you have an account, sign in now to post with your account.